Barber Ready Beard Fade: Exact Guard Sequence and 5–14 Day Upkeep

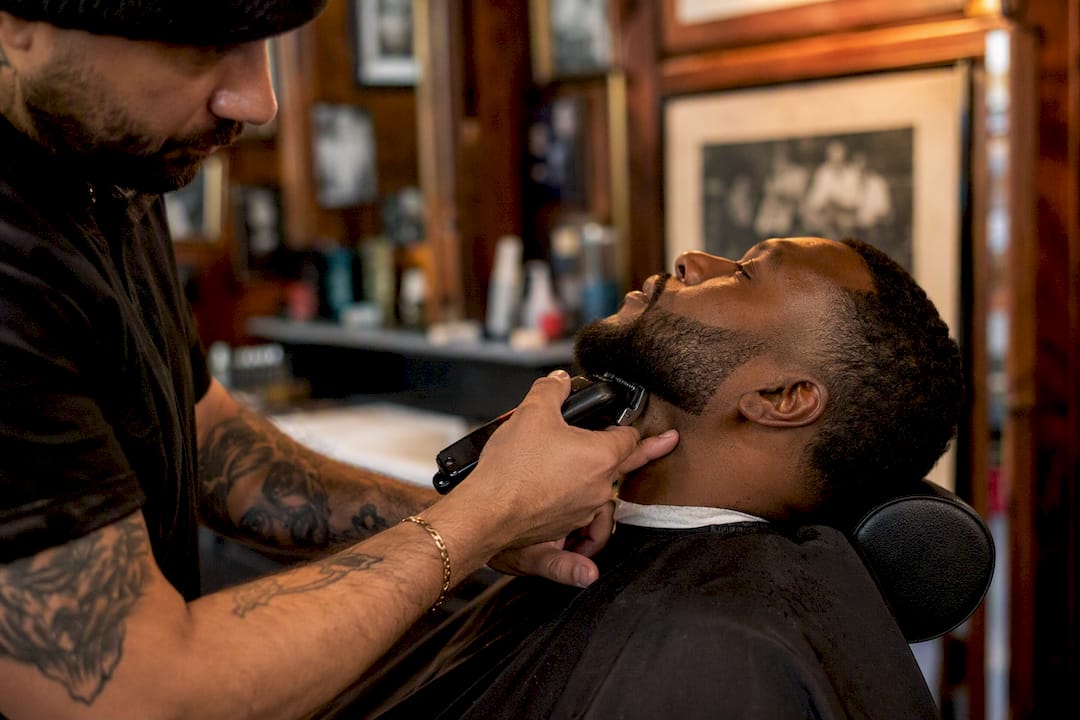
A beard fade blends shorter hair at the sideburns and cheeks into your natural beard length, replacing a harsh, blocky edge with a smooth gradient. Most men should start with a low or mid fade since the contrast stays wearable for daily life and grows out cleanly. This guide covers the main styles, the exact cutting sequence, the tools worth owning, and how often to touch it up.
Low or mid fades are best for beginners, as they grow out cleanly and create subtle, wearable transitions suitable for daily wear.
A mid fade is the most versatile style, fitting almost any face shape and pairing well with various hair on top, including textured quiffs or side parts.
Fading should be done gradually, starting with the largest guard and working downward in overlapping strokes to avoid harsh lines and uneven results.
High, skin, and sharp contrast fades require more frequent touch-ups every 5 to 7 days to maintain clean edges.
Precise communication with your barber about fade height, guard numbers, and neckline is crucial for achieving a balanced, professional-looking beard fade.
Table of Contents
Types of Beard Fade Styles: Which One Fits Your Look
Every fade style controls one thing: where the transition line sits and how sharp it looks. Pick the height first, then worry about styling on top of it.
Low fade: The blend starts just above the ear and stays subtle. It suits rounder faces and thinner beards since it avoids extra contrast near the jaw. Pairs well with a classic crew cut on top.
Mid fade: The transition sits between the temple and the top of the ear, giving a balanced look that works on almost any face shape. This is the most versatile starting point for men unsure which fade to try, and it pairs naturally with a textured quiff or side part.
High fade: The blend climbs above the temple, creating sharp contrast that flatters square or oval faces with fuller beards. Works well under a slick back or pompadour.
Skin (bald) fade: The clippers go all the way to skin at the lowest point, then build up fast. It demands the most upkeep but delivers the cleanest, most defined edge.
Taper: A gentler version of the fade with less contrast overall, good for guys who want a subtle transition rather than a dramatic one.
Drop, temple, and burst fades: These curve the fade line around the ear (burst) or drop lower behind it (drop/temple), which flatters longer hair on top and softens a strong jawline.
How to Fade a Beard Step by Step
Fading takes patience more than skill, and rushing the guard changes is where most home attempts go wrong. Follow this sequence whether you’re doing it yourself or explaining it to a barber.
Wash and comb first. Clean, detangled hair gives you an accurate read on length, and clippers glide better on prepped hair than on dry, tangled growth.
Set your base length. Decide how long you want the beard itself, then leave that guard on the chin and jawline untouched.
Establish the guide line. Mark where the fade should start, usually at the top of the sideburn, using your largest guard as the anchor point.
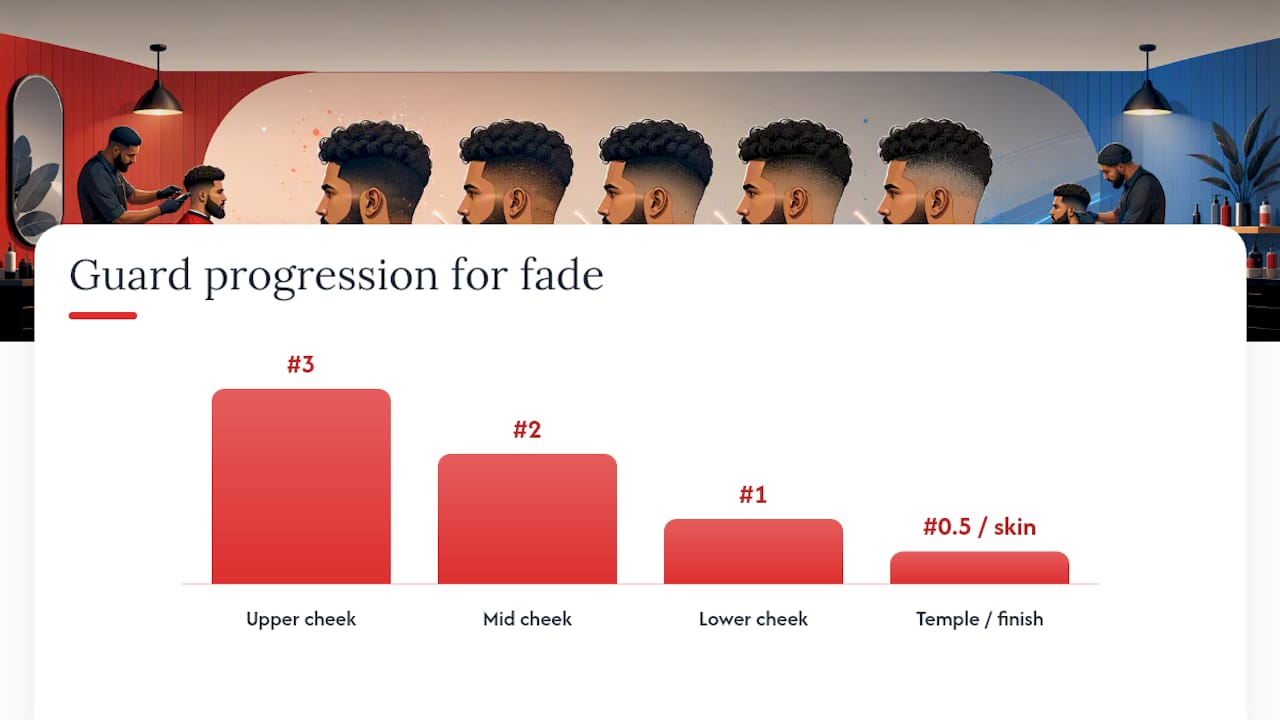
Work the guard progression. A typical sequence runs #3 on the upper cheek, down to #2, then #1, finishing with #0.5 or skin at the temple. Live Bearded’s home tutorial recommends starting with the largest guard you own and working down, never the reverse.
Blend with overlapping strokes. Move the clipper upward in short, overlapping passes, tipping the blade slightly outward at the top of each stroke so no hard line forms.
Check the neckline and cheekline. Keep the neckline roughly one finger above the Adam’s apple, and let the cheekline follow your natural growth rather than cutting a straight edge across it.
Step back and check symmetry. Look at both sides in a mirror under bright, even light before committing to the smallest guard.
Pro Tip: Do a dry run with each guard against dry hair before you commit to cutting, especially near the ear. Live Bearded’s guide flags this as the single biggest way to avoid an uneven fade on your first attempt.
If the lines still look choppy after two or three passes, stop. That’s the point where a barber fixes in five minutes what you’d spend an hour chasing at home. Understanding what blending actually means at the chair level helps you communicate exactly what’s off.
What Tools Do You Need for a Beard Fade?
The right gear separates a clean fade from a choppy one, and not every tool belongs in a home kit.
Clippers with adjustable guard combs handle the bulk of the fade work and are the tool most consumer guides recommend for tackling the height transition.
A precision trimmer (no guard) defines the cheekline, neckline, and any sharp edges. This is where detail work happens.
A foil shaver or T-outliner is barber-only territory for true skin fades; it takes practice to avoid nicks.
A brush or comb helps you read growth direction before every pass, catching stray hairs a clipper alone would miss.
Beard oil or balm calms irritation on freshly faded skin, especially with high or skin fades where the blade gets close.
Invest in a quality clipper set and a comb first. Leave the foil shaver and razor definition to your barber.
Choosing a Fade for Your Face Shape and Beard Length
Fade height should follow your face shape, not just what looks good on someone else. Round faces benefit from low or mid fades that avoid adding width near the jaw, while oval faces can handle almost any height without looking off balance. Square jaws often look sharpest with a high fade that plays up the angles instead of hiding them, and oblong faces do better with a low fade that doesn’t stretch the face further. Diamond faces tend to suit a mid fade that softens the cheekbones.
Beard length and density matter just as much as face shape:
Thick, dense beards can handle higher fades and more contrast without looking patchy.
Thinner or patchy beards usually look cleaner with a low fade, since less contrast means less attention on uneven growth.
High-contrast complexions (very dark hair against light skin, or the reverse) show every imperfection in a skin fade, so a slightly softer taper often reads better day to day.
If you’re not sure how your growth pattern will hold up to a sharper fade, a barber’s read on hair growth patterns before the first cut saves you from picking a style that won’t grow out cleanly.
How Often Should You Touch Up a Beard Fade?
Fade height dictates how fast it grows out of shape. Skin and high fades need attention every 5 to 7 days, mid fades stretch to 7 to 10 days, and low fades can go 10 to 14 days before looking soft around the edges.
Daily: Brush the beard and apply a light oil to keep growth direction consistent.
Weekly: Tidy stray hairs along the neckline and cheekline with a precision trimmer.
Every 1 to 2 weeks: Book a professional refresh, especially for skin and high fades where regrowth shows fastest.
Waiting too long between visits is the most common reason a sharp fade starts looking like a bad haircut instead of a maintained one.
Fixing a Bad Beard Fade: Common Mistakes
Most fade disasters come from rushing the guard progression or skipping the dry-run step.
Visible lines: Go back over the line with the next guard up, blending in short upward strokes until it disappears.
Uneven sides: Match the shorter side first, then bring the longer side down to meet it rather than trying to fix both independently.
Fade too high: Rather than fighting it, mirror the height on the other side and treat it as a deliberate high fade going forward.
Neckline too low: Reshape upward from the current line instead of shaving lower to correct it. Give it a week to grow before adjusting again.
Manhattan Barbershop’s Tips for Getting a Precise Beard Fade
Precise phrasing gets predictable results. Tell your barber something specific: “mid bald fade, #3 on top fading to skin at the temple, square neckline one finger above the Adam’s apple.” That level of detail removes the guesswork.
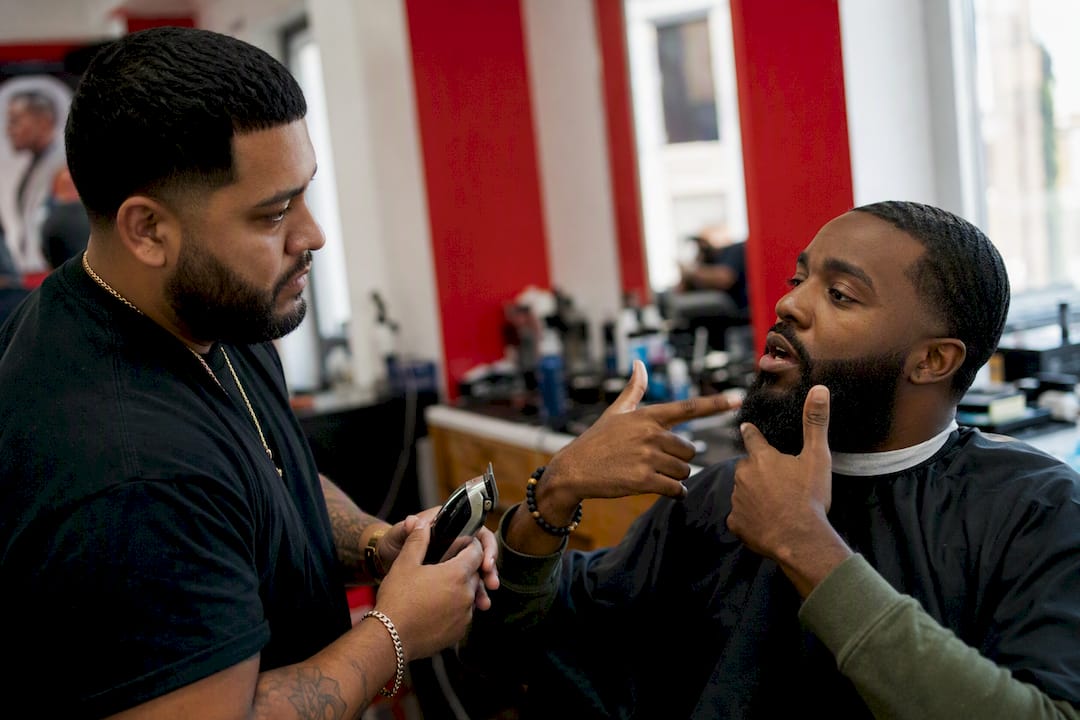
Pro Tip: Ask for a T-outliner edge on the cheekline and a foil shaver finish near the neck. Those two touches are what separate a barbershop fade from a home attempt. For more sample scripts, see how to describe a fade style to your barber.
A Barber’s Take on Fade Philosophy
Subtle, face-fitting fades outlast trend-driven ones because they don’t fight your natural growth pattern. At a first appointment, expect questions about your daily routine and face shape before a single guard touches your skin. That conversation matters more than the clipper work.
— Evgenii
Book Your Beard Fade at Manhattan Barbershop
You can follow every step above and still end up with a slightly uneven line where you can’t see the back of your own neck. That’s the gap a skilled barber closes, and it’s the whole reason Manhattan Barbershop keeps clients coming back for their next cut instead of fighting clippers alone.

Manhattan Barbershop specializes in clean, natural-looking fades that hold their shape for weeks, not days, because the blend is built to grow out evenly instead of turning choppy after a week. Bring a reference photo or just describe the height you want, and Eugene Solod’s team will translate it into exact guard numbers and neckline placement. If you’re weighing a fade for an upcoming portrait or professional headshot, a fresh, well-defined fade photographs noticeably cleaner than an overgrown one. Ready to see it done right the first time? Book your appointment online or check out the free model haircut offer for new clients.
Sources
Recommended
Comments