Scissor Over Comb for Beginners: Master the 4 Mechanics Pros Use

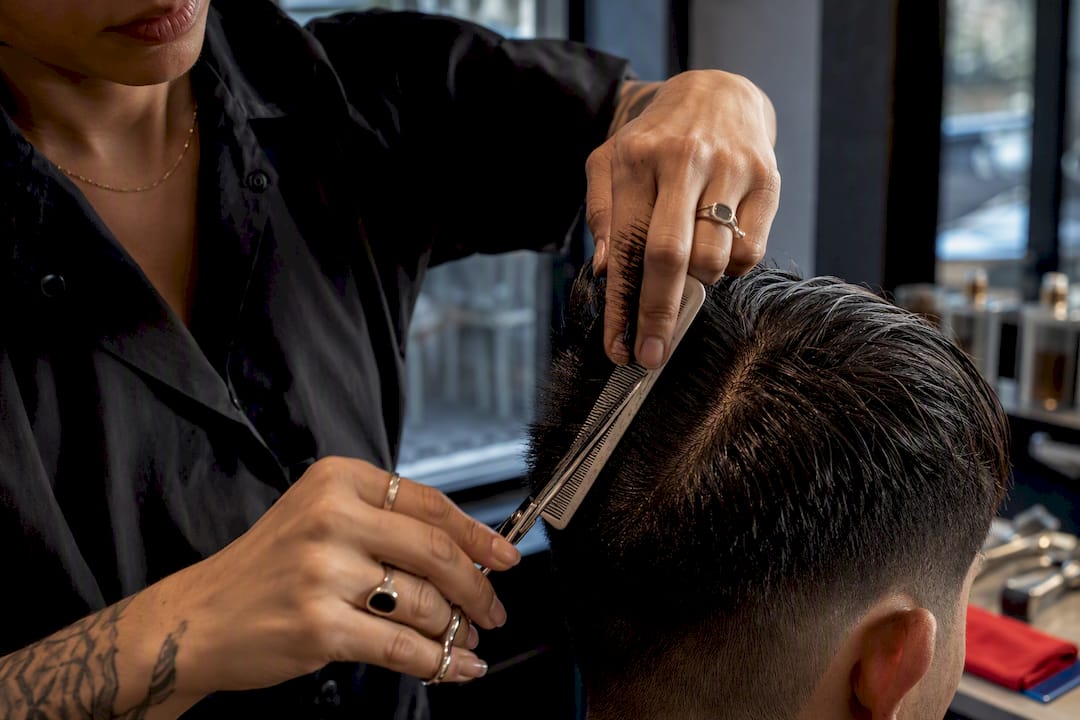
Scissor-over-comb is a cutting method where a comb lifts sections of hair while shears trim what extends past the comb’s edge, producing graduated tapers and fades without a clipper’s flat, mechanical line. Barbers reach for it on tight necklines, blended sides, and any short style that needs a soft, sculpted finish rather than a buzzed one. Expect significantly more time than a clipper cut and a real learning curve before the motion feels natural.
TL;DR:
The time required for a scissor-over-comb cut is typically longer than a clipper cut, especially for beginners learning the technique.
Proper setup includes using longer shears for bulk removal, short shears for detail work, and various combs suited for different sections of the hair.
Key mechanical principles like elevation, tension, and comb angle are essential for achieving a smooth, natural taper and avoiding choppy results.
Common mistakes such as hesitation cuts, uneven elevation, or improper comb angle can be corrected with practice and awareness of technique.
Finishing involves blow-drying in the natural direction and using lightweight styling products to enhance the sculpted, blended look.
Table of Contents
What Is Scissor Over Comb, and When Should You Use It?
The comb lifts the hair to a set height and angle, and the scissors cut whatever sticks out past the teeth. That’s the entire mechanism, but the results range widely depending on comb angle, elevation, and how the barber moves through each section. It’s the go-to method for tight fades, graduated necklines, and short tapered sides, and it’s also what gives a “clipper cut” its softer cousin: less texture removed, more shape retained.
Clippers cut faster and give a more uniform, mechanical result. Scissors take longer but carve texture and natural movement that clippers tend to flatten out, according to Esquire’s breakdown of the two methods. Choose scissor-over-comb when:
The client wants a soft, blended look rather than a sharp buzzed line.
Hair is medium to long on top and needs to taper gradually into shorter sides.
You’re working with thick or textured hair that clippers can leave choppy.
The finish needs to hold shape for weeks, not just look sharp on day one.
A skilled barber can execute a full scissor-over-comb taper in a moderate amount of time. A beginner should expect that same section to take substantially longer while the hand and eye calibrate.
Setting Up: Scissors, Combs, and Your Cutting Station
Your tools decide how smooth the final line looks before you even make a cut. Barbers generally keep two shear lengths on the station: a longer blade for bulk removal and a shorter one for detail work.
Long shears (6.5 to 7.0 inches or more): the extra blade length covers more hair per pass and produces smoother graduations across large sections.
Short detail shears: better for tight spots around the ears and hairline where a longer blade is clumsy.
Fine-tooth combs: for close, precise work near the neckline and ears.
Wide-tooth or taper combs: for lifting larger sections on the crown and sides.
Cut on dry or towel-dried hair for scissor-over-comb. Wet hair clings and misrepresents how it will actually fall once styled. Position the client so you can move around the chair freely, and keep your non-dominant hand steady on the comb, since a shaky comb hand is the root of most jagged lines.
Pro Tip: Keep your shears sharpened and sanitized between every client. A dull blade doesn’t cut cleanly, it pushes and bends hair strands, which is exactly what causes uneven, “chewed” looking ends.
Step-by-Step: How to Cut Hair With Scissors, Section by Section
Every clean scissor-over-comb cut follows the same underlying logic: start low, work up, and let each finished section guide the next. Here’s the sequence barbers actually use.
1. Consult and assess the hair. Look at growth pattern, density, and how the client wears the style day to day. Decide where the guideline (the shortest point, usually the neckline) will sit before you touch a comb.
2. Remove initial bulk if needed. If the hair is significantly overgrown, some barbers do a rough clipper pass first to reduce volume before switching to scissor-over-comb for the blend. This isn’t mandatory, but it saves time on very thick hair.
3. Section the head. Divide hair into workable zones, typically the neckline, sides, and crown. Alternating vertical and horizontal partings per zone keeps each cut consistent and easy to check.
4. Start at the bottom. Begin at the neckline or the lowest graduation point. This is the anchor guideline every other section will reference.
5. Comb up and out at a low angle. Slide the comb into the hair close to the scalp, angled just slightly away from the head. The teeth should sit flat against the skin at the starting point.
6. Cut what extends past the comb. Follow the comb’s edge with the scissor blade, cutting continuously as you glide upward rather than snipping in short bursts. The comb is the guide. The blade just follows it.
7. Move to the next section using the last as reference. This bottom-up approach is the backbone of the whole technique: each finished section becomes the visual guide for the section above it, which is how you build a gradient instead of a series of visible steps.
8. Increase elevation as you move up the head. Lower sections get lower elevation for shorter, tighter graduation. Higher sections get lifted further for more length retention and softer blending into the top.
9. Check symmetry constantly. Release sections every few passes and compare both sides in the mirror. Regularly releasing sections to check the shape catches asymmetry before it compounds.
10. Smooth out horizontal steps. If you see a visible line where two sections meet, go back over that zone with a slightly different comb angle to soften the transition. This is normal even for experienced barbers, not just beginners.
11. Refine with detail shears. Switch to the shorter blade around the ears and hairline for final clean-up. This is where precision matters more than speed.
12. Texturize only if the style calls for it. Point-cutting or notching adds movement to thicker hair, but it’s easy to overdo. Stop once you’ve achieved natural texture, not visible chunks.
13. Do a final cross-check. Comb the whole head in the direction it will actually be worn and look for stray hairs or missed transition points before finishing.
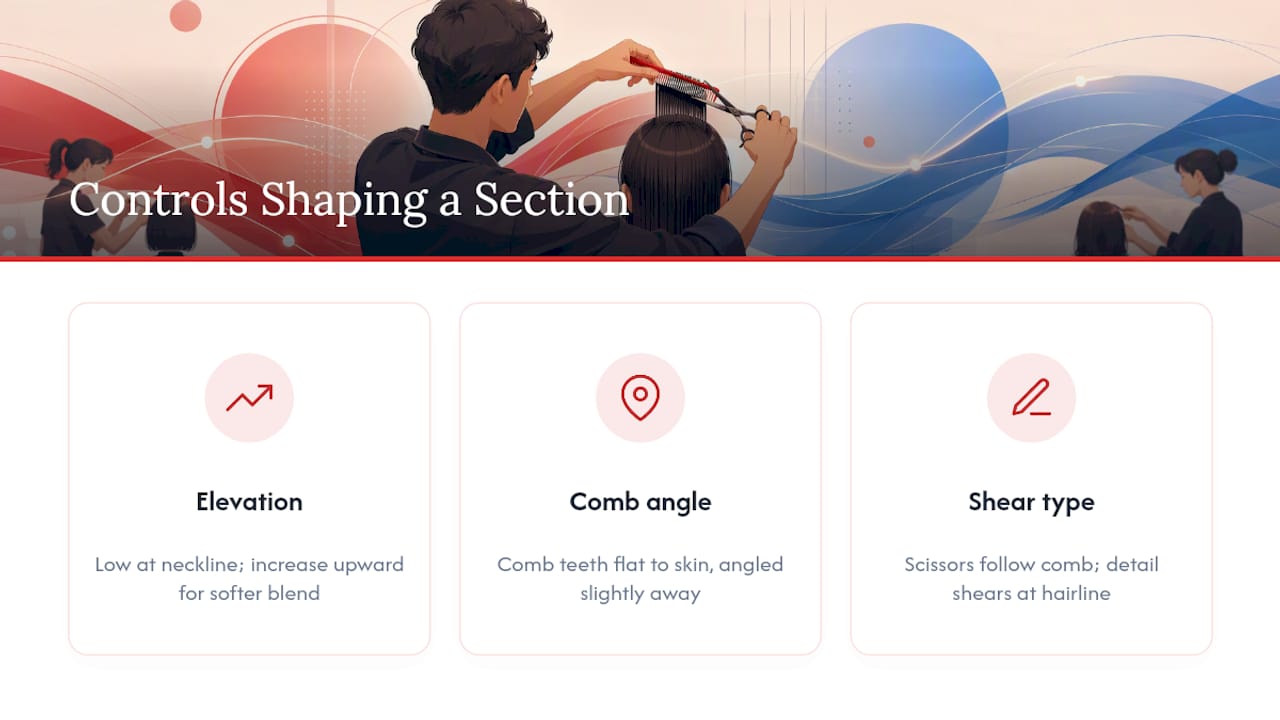
Elevation, comb angle, and shear type are the core levers that control weight and consistency throughout this entire sequence. Get those three right and the twelve steps above become far more forgiving.
Why It Works: Elevation, Tension, Comb Angle, and Blade Action
Every rule in the step-by-step traces back to four mechanical principles. Understanding them is what separates someone repeating steps from someone who can adapt on the fly.
Elevation controls weight. Low elevation near the scalp keeps hair short and tight; higher elevation lets more length remain, which is why crown sections sit at a steeper lift than the neckline.
Tension matters more with curly or coarse textures, which can spring back after cutting; straighter hair holds its shape with less pulling.
Comb angle sets the plane. The blade doesn’t decide the shape. The comb does. Tilt the comb and the whole cut line tilts with it.
Continuous scissor motion avoids the choppy “stepped” look that comes from cutting in short, hesitant snips instead of one smooth pass along the comb’s edge.
These four factors are what ScissorPedia’s technique reference points to as the real difference between a rough scissor-over-comb attempt and a polished one.
Common Mistakes That Ruin a Scissor-Over-Comb Cut
Most beginner errors trace back to the same handful of habits, and they’re all fixable once you know what to look for.
Hesitation cuts: stopping and starting mid pass creates visible notches. Fix it by practicing the full comb-to-tip motion slowly before speeding up.
Cutting with the blade tips instead of the center: tip-cutting is imprecise and leaves choppy, uneven ends. Use the middle third of the blade for control.
Uneven elevation between sections: causes horizontal “steps” in the cut. Go back and blend the transition zone with a slightly different comb angle.
Over-texturizing: removing too much weight leaves hair thin and flyaway. Stop as soon as natural movement appears, don’t chase perfection.
Pro Tip: If you keep seeing the same step in the same spot, the problem usually isn’t your scissor hand. It’s your comb angle staying too consistent when the head’s curve actually changes underneath it.
Finishing the Cut: Blending, Drying, and Product Choices
A technically clean scissor-over-comb cut can still look unfinished without the right dry and style. Barbers typically finish with a small round brush to set the silhouette and add movement while blow-drying, checking the blend from multiple angles as the hair dries and settles.
Use a light, low-shine styling cream or matte paste rather than heavy gel, which flattens the texture you just carved out.
Dry in the direction the client actually wears the style, not straight up, to see how the taper really falls.
Point out the graduation lines to the client so they understand what to ask for next time, and give simple at-home guidance: a light product, minimal heat, and a trim before the shape grows out completely.
How Manhattan Barbershop Applies This Technique in the Chair
Scissor-over-comb shows up in nearly every classic and modern cut we do, particularly on tapers and blends where a clipper alone leaves too hard a line. We keep longer shears on hand for bulk work and shorter detail blades near the ears, switching between them the way most trained barbers do once they’ve logged enough chair time. Consultation comes first: hair type and desired softness decide the comb angle and elevation before a single cut happens, and we talk through timing and maintenance so there are no surprises.
— Evgenii
Book a Scissor-Over-Comb Cut at Manhattan Barbershop
Reading the steps is one thing. Feeling the difference in the mirror is another, and that’s where a trained hand matters most. Scissor-over-comb is incorporated into classic and modern cuts offered, providing a softer, sculpted finish as described here without requiring personal practice.

When you book, mention the finish you want, whether that’s a tight, blended taper or a longer top with soft graduation into the sides, and your barber will walk you through how we customize the cut to your hair texture before the first section starts. Not sure what to ask for? Our guide on questions to bring to a new barbershop covers exactly that. Ready to see it done right? Book your appointment online or check our walk-in availability today.
Sources
Recommended
Comments